
I’ve been designing polymer clay 3d printed tools non stop for months now. Before that it was occasionally, as inspiration struck. But the knowledge that the polymer clay community was missing certain things kept nagging me. And I knew I could provide these certain things. So the designing started non stop. Not only is there paper clutter on my desk when I’m in design mode, there’s digital clutter on all my devices! Every. Single. Idea. Gets saved! 😆 In the days ahead I’ll share more details about the extra niceties I’ve added to the polymer clay market.
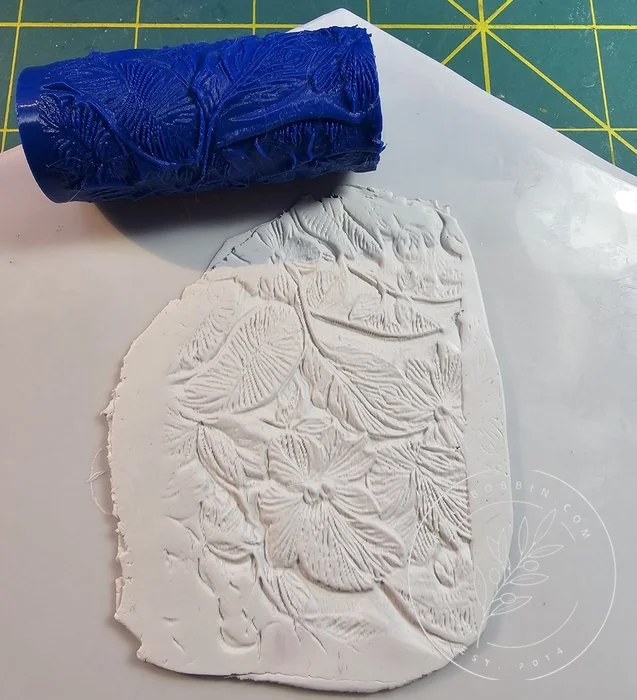
The only reason I mention the clutter is because a certain term kept popping up as ideas were saved: basic. Each time an idea for a foundational piece appeared, a note was added to the “basics” collection. But right alongside that note, the added words kept popping up: “not-so-basic basics.”
Because basics are basics for a reason.
They are more than basic. They are FOUNDATIONAL. They are TIMELESS. They have stood the test of time and have been declared winners! A collection isn’t complete without the styles that can be used over and over again. Those are the basics.
But in wanting to write this post there was also another motive. I wanted to assure newbies to polymer clay that it’s A-OK (more than okay, but recommended!) to not buy every single clay cutter on the market. Yes, I sell polymer clay cutter designs galore and I am telling you it is okay to buy less of them! How’s that for being incredibly honest?
Newcomers to polymer clay do not have to feel as if they’re missing out if they don’t have all the latest gadgets. I propose you start small. There’s so many things around the home that can be used in an unconventional way for either cutting shapes, texturing clay, or sculpting it. Just to give 1 example of each: a manila file folder makes great templates for cutting earring shapes; a clean, dry sponge makes a fantastic texturizing tool, and the humble toothpick is one of my favorite sculpting tools. It must be round though. It rolls easily and smooths clay with ease. If it’s the 4-sided one it will just leave lines all over your clay slab. Nobody has time for that!
But let’s climb out of this rabbit hole, dear reader. My apologies! Let’s get back to what I want to share with you today: how a seemingly simple 3 piece set of “basic” cutters can be used to make endless combinations.
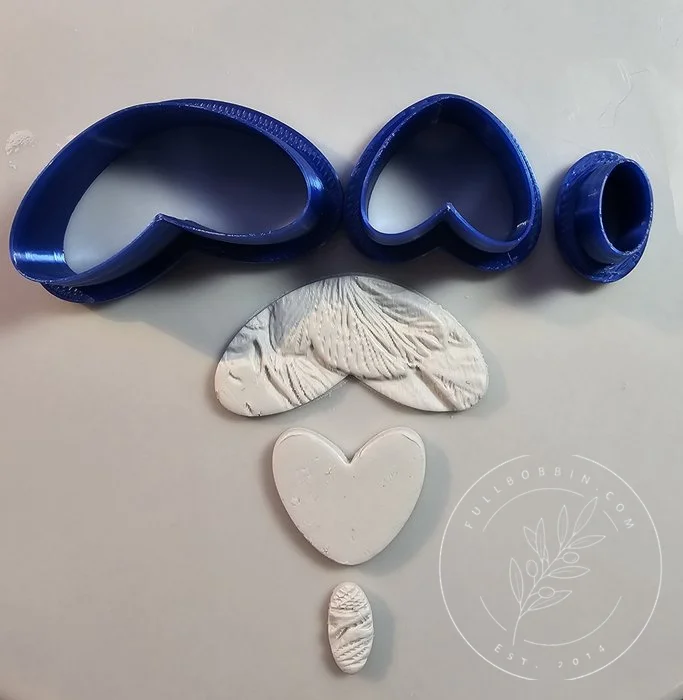
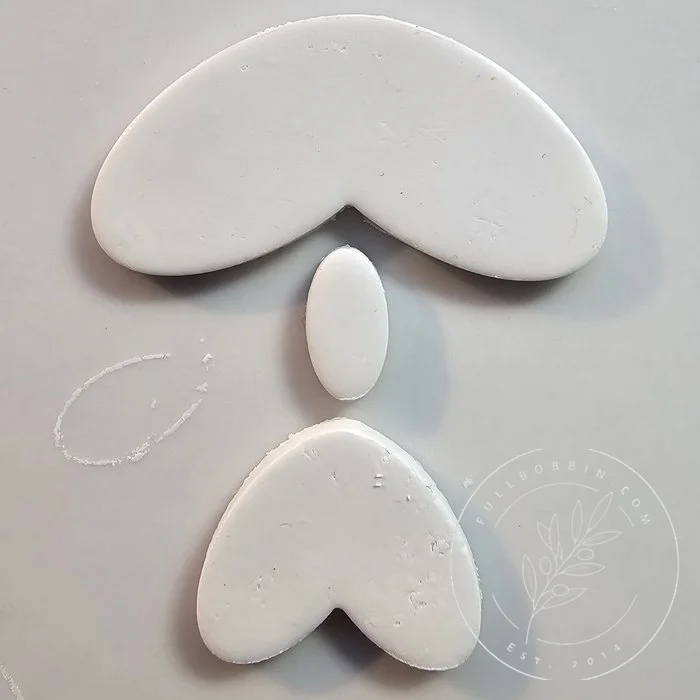
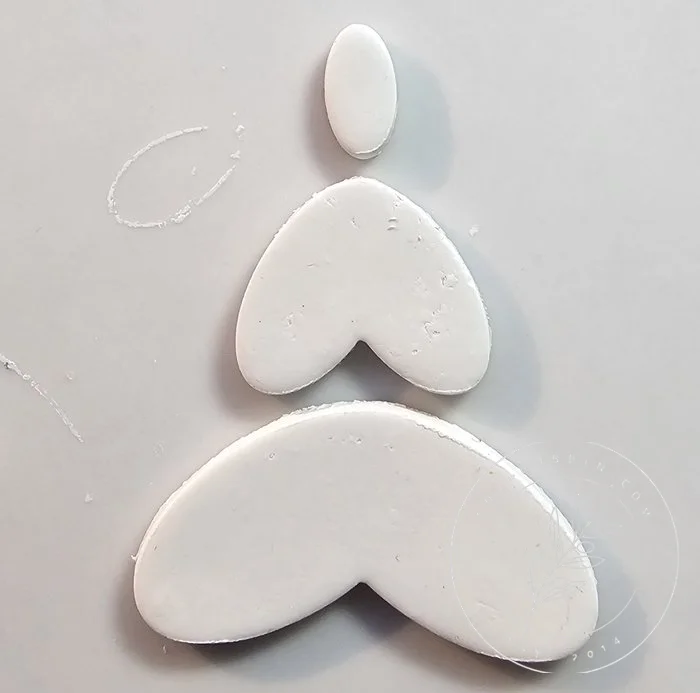
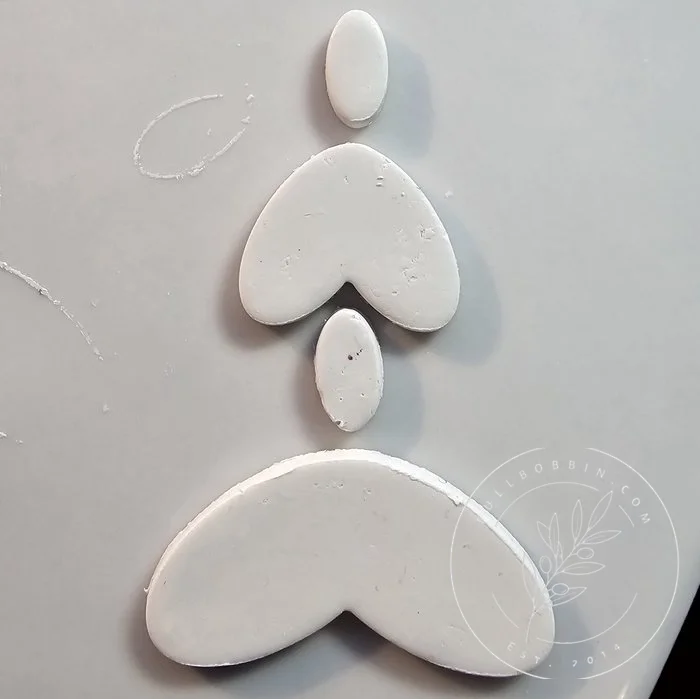
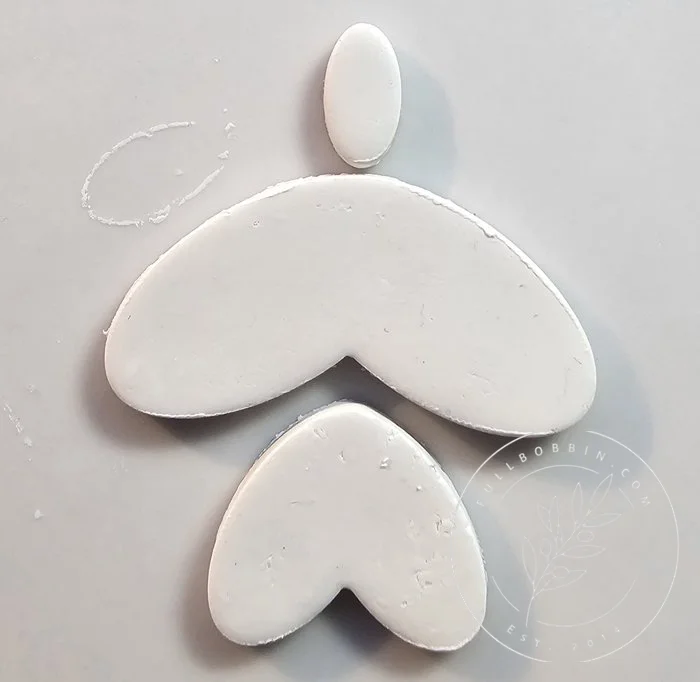
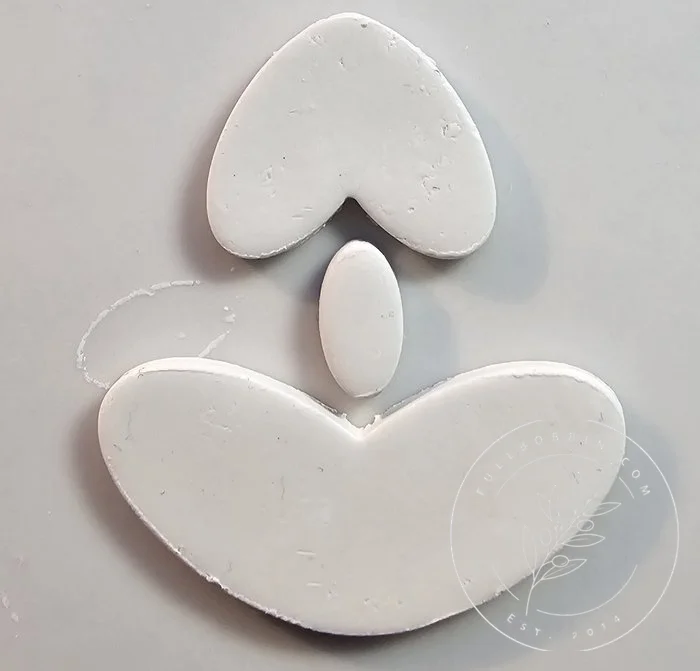
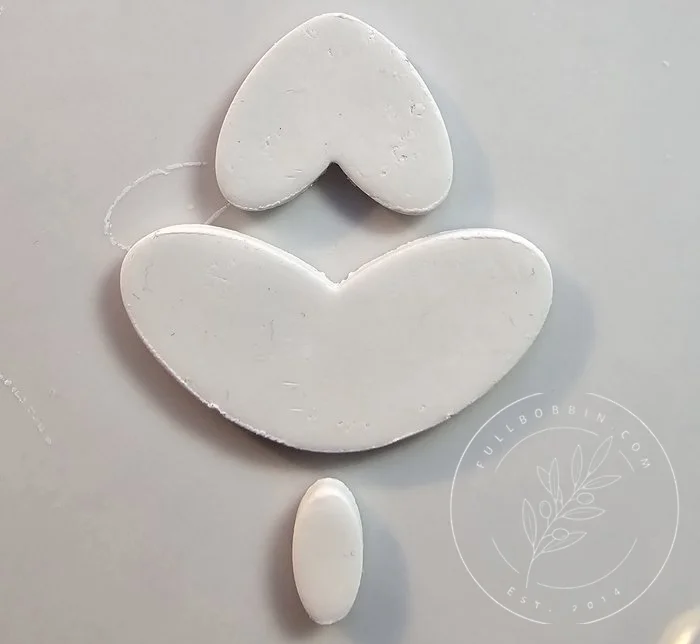
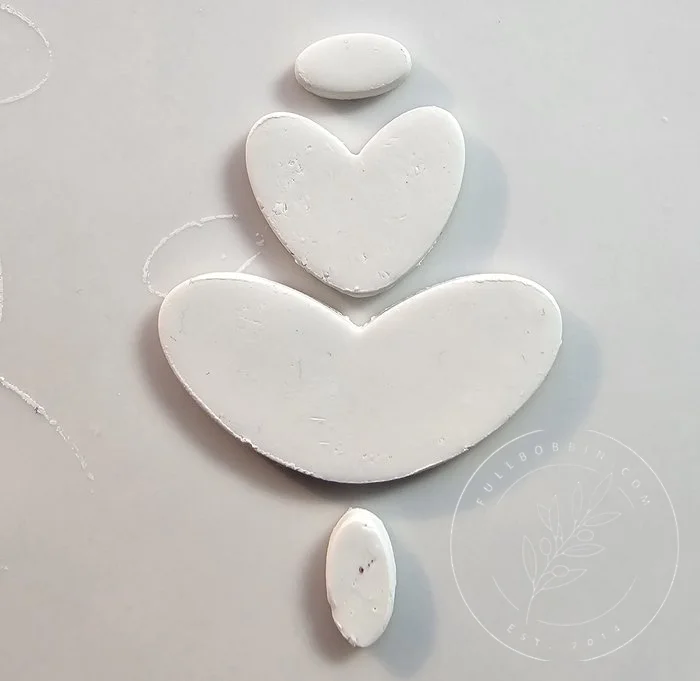
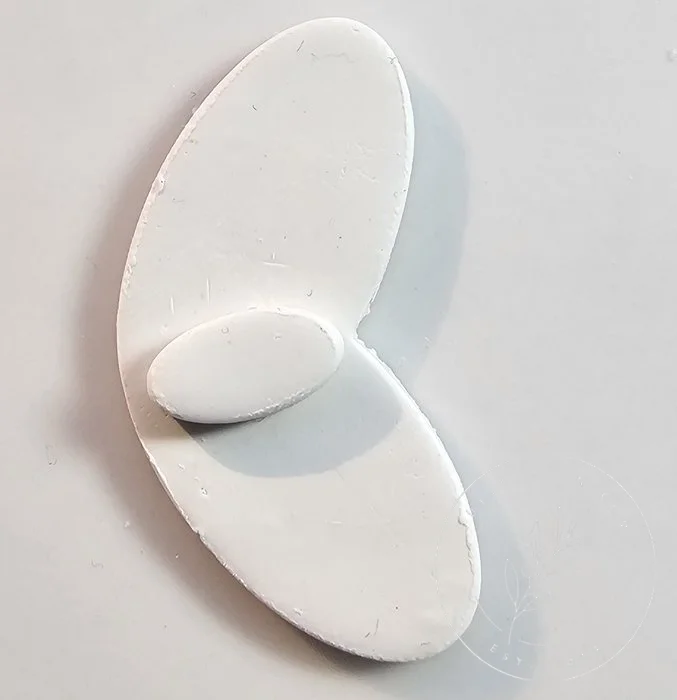
You’ve seen nesting leaf drop cutters. They’re everywhere. When I set out to design my version I wanted to make it super versatile. So the shapes are quite classic and organic. The center cutter is a shoe-in for an adorable heart if you flip it upside down!
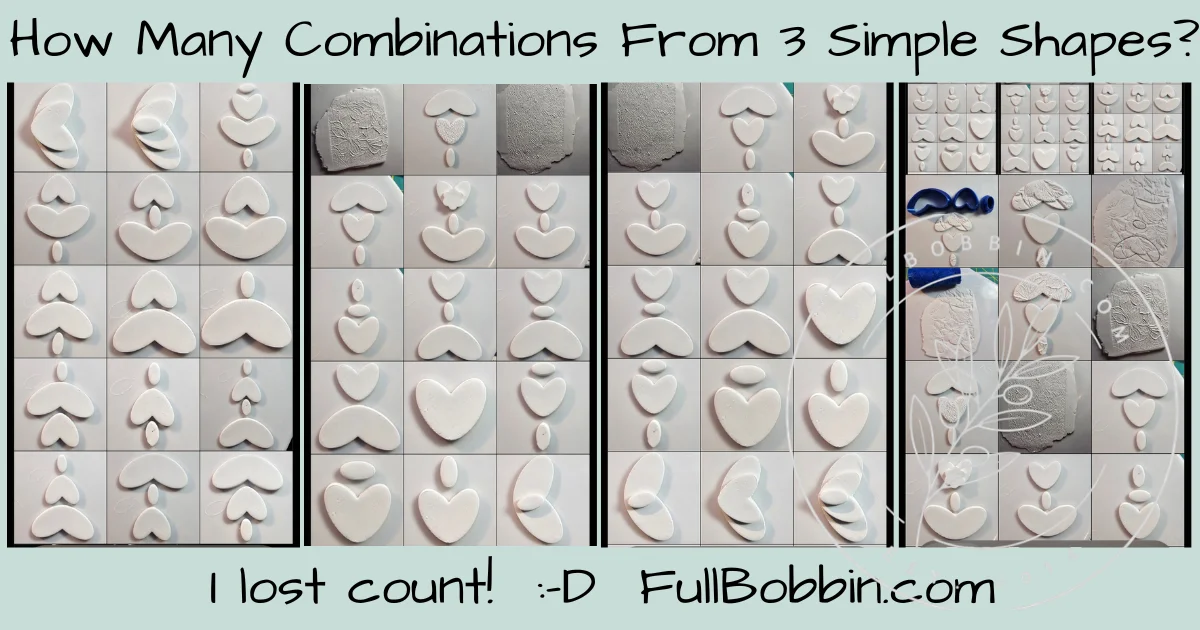
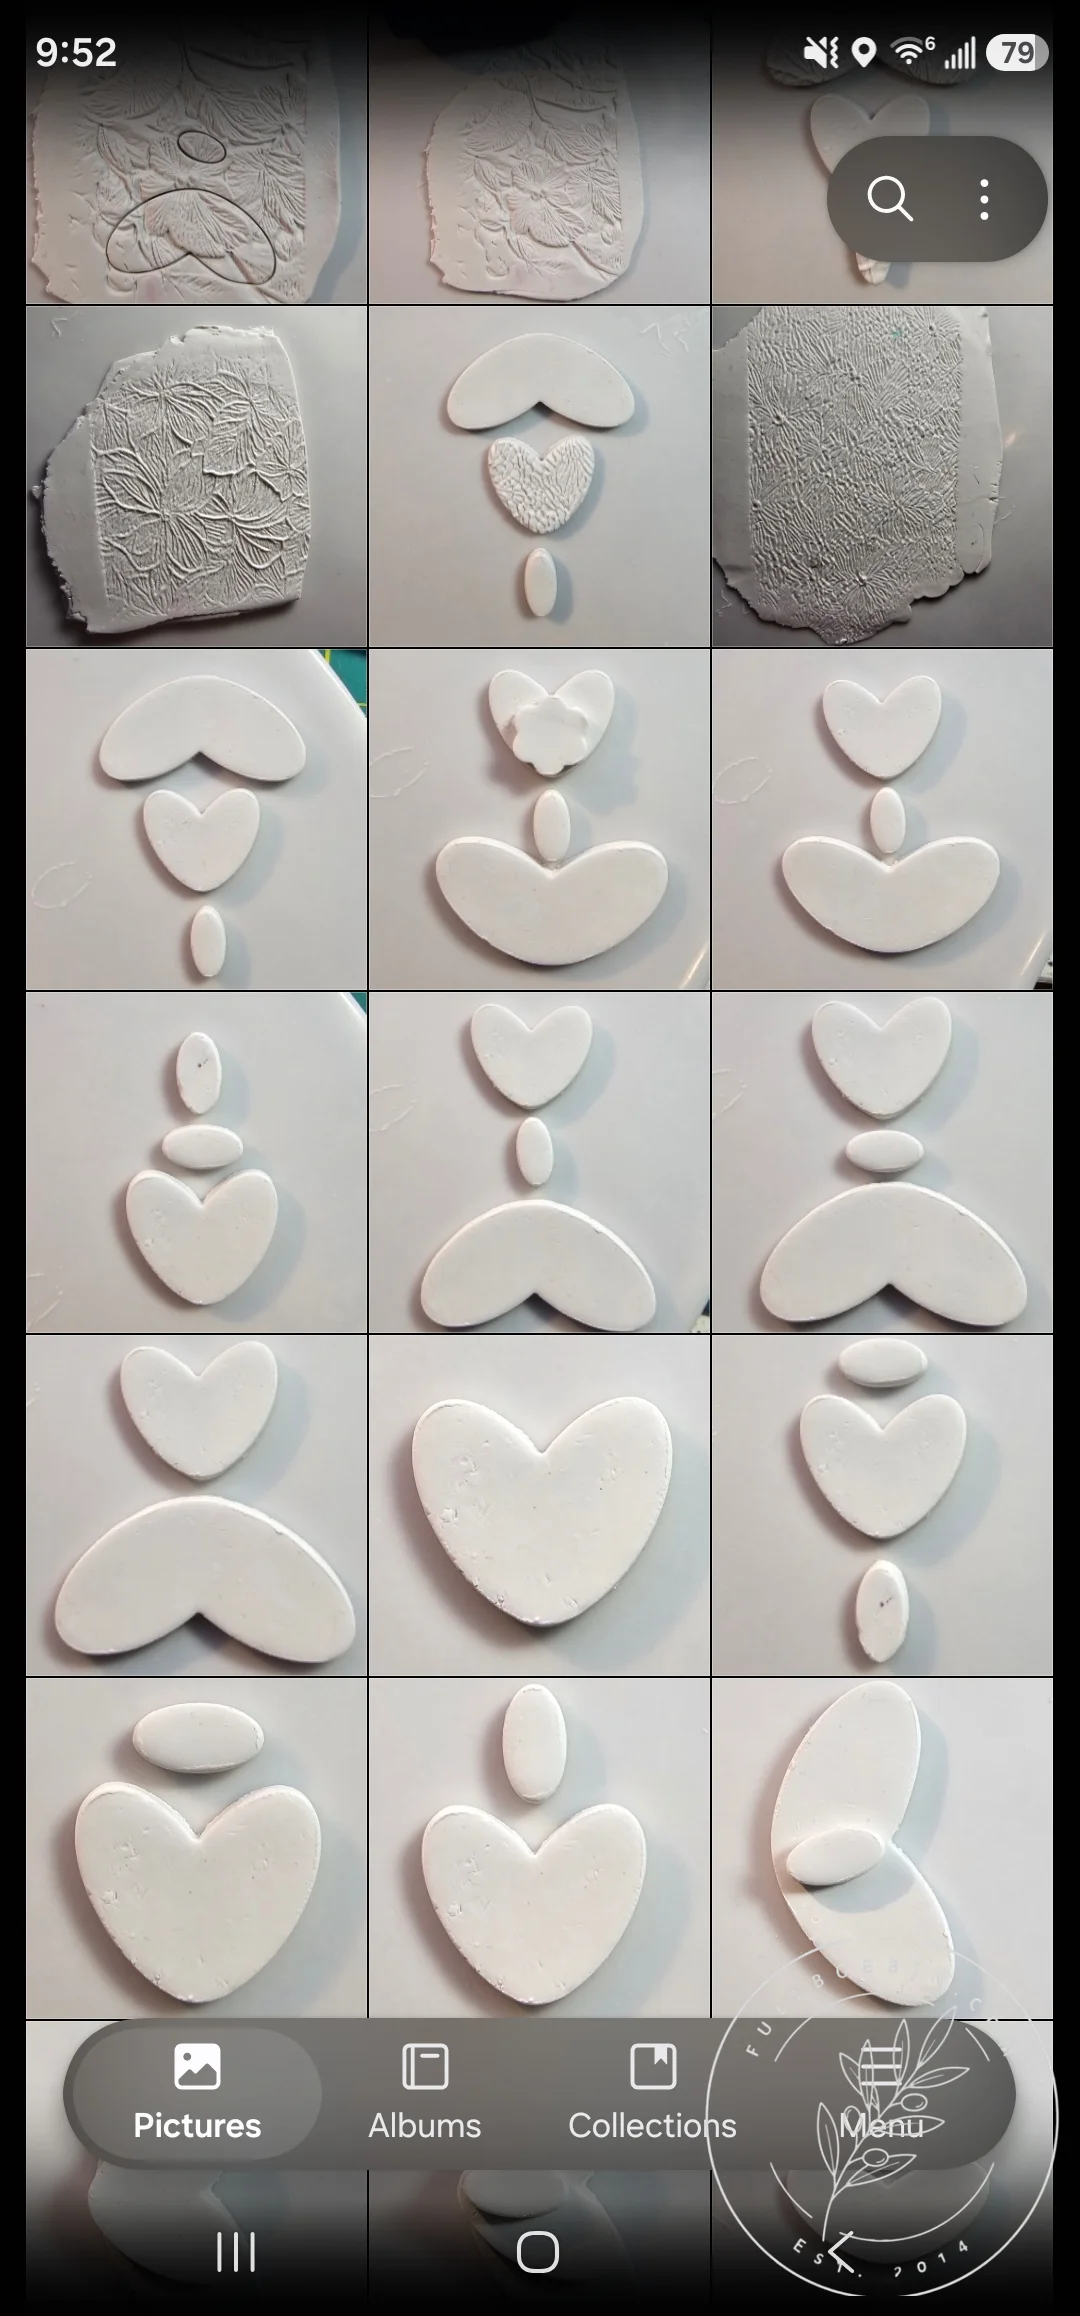
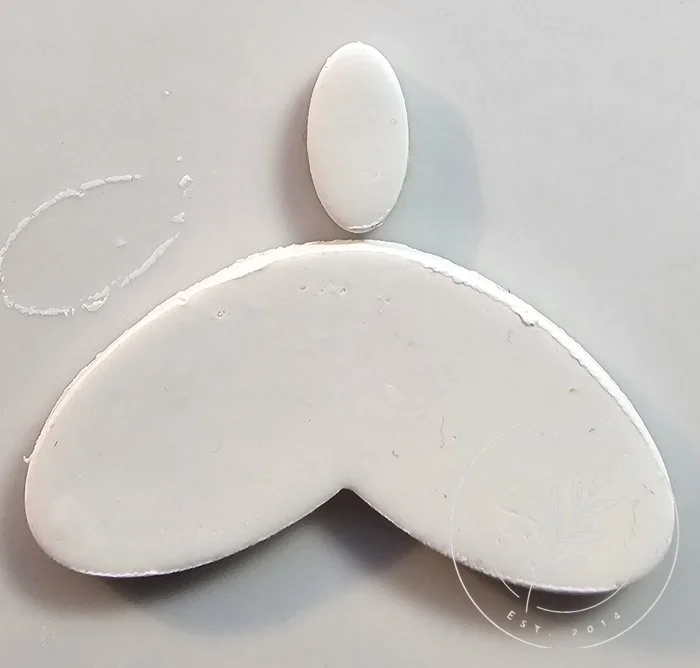
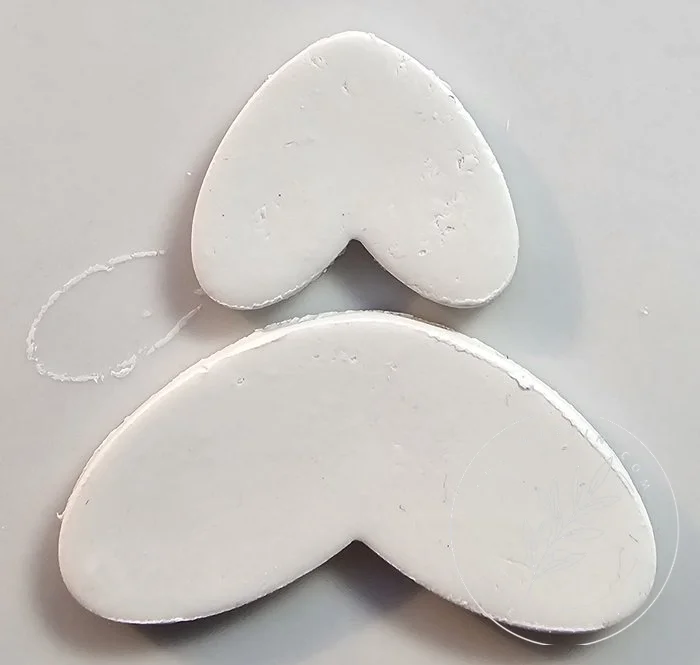
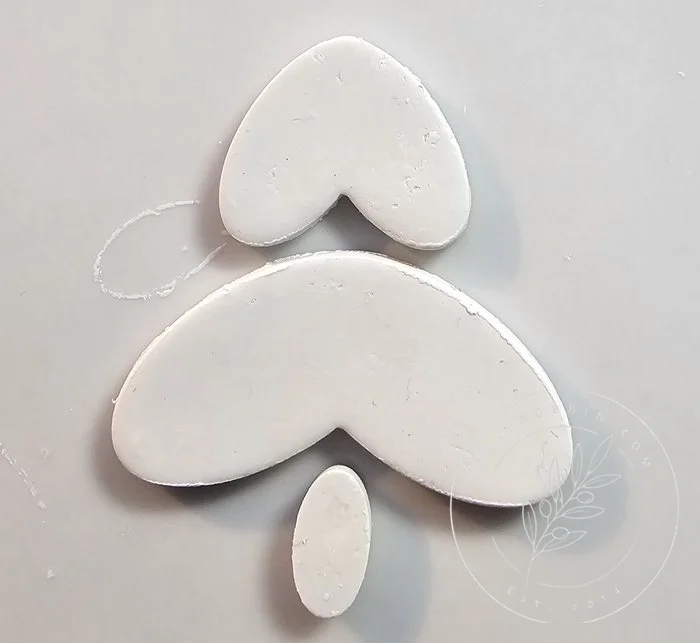
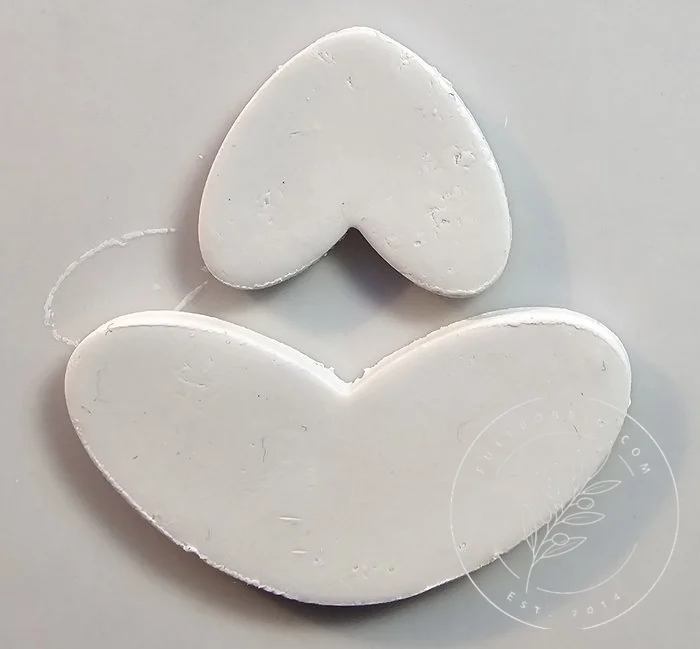
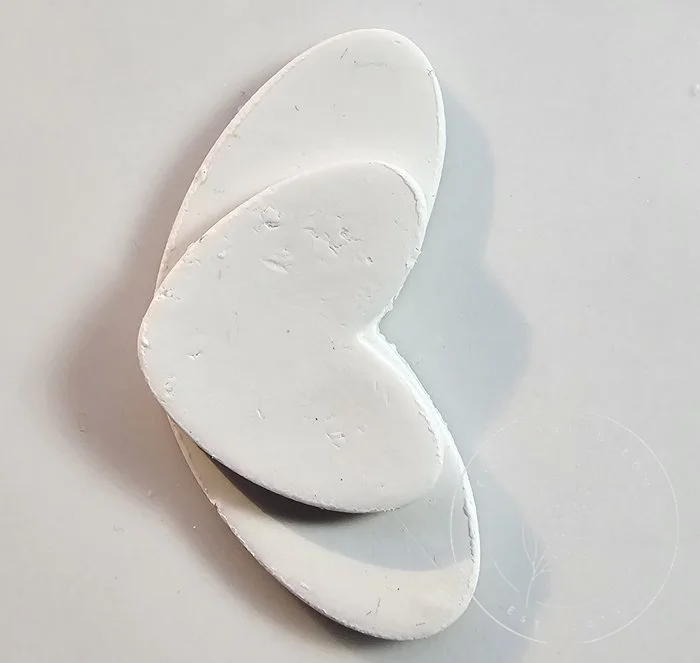
The gallery of pictures presented here are just some of the combinations you can make with this “not so basic” basic set. Keep these things in mind when thinking of new ways to use your own basics:
- Mixing textured and untextured pieces is a top-notch pro move. It’s one of my favorite ways to make a classy piece.
- Because these are cutters, no one says you can only use a shape once. Cut duplicates (or more!) and use them again if it suits your design!
- Stacking is allowed! Larger pieces on the bottom is the general rule of thumb when stacking. =D
- Flip them! Turn them upside down (to make that adorable heart), turn them sideways. Turn them any which way your heart desires. If it looks good to you, give it a try! Just try to find its center of gravity if you’ll be using these for earrings, as most do. You’ll need a jump ring hole drilled above that center of gravity so it hangs right.
- Color matters. With basics you can use very simple pieces and make them different colors. Or you can choose one color and add texture to some of the pieces but not others. Truly one of my favorite looks!
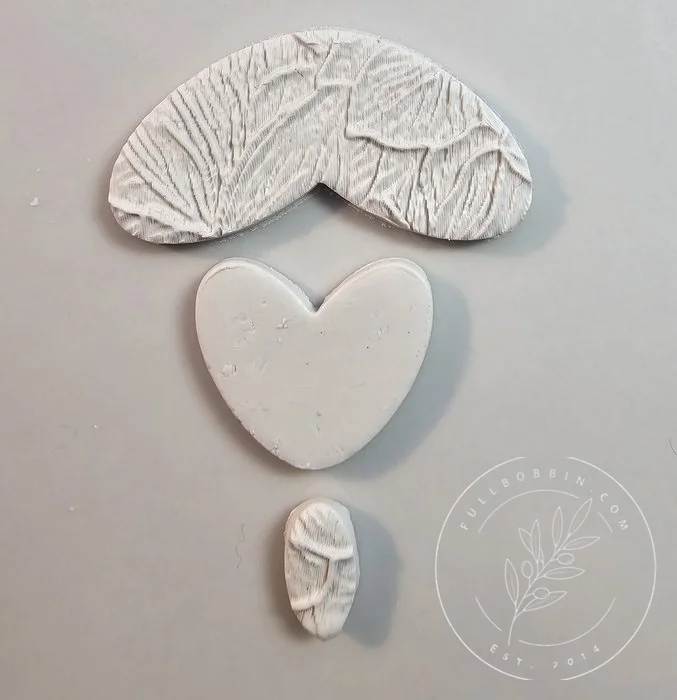
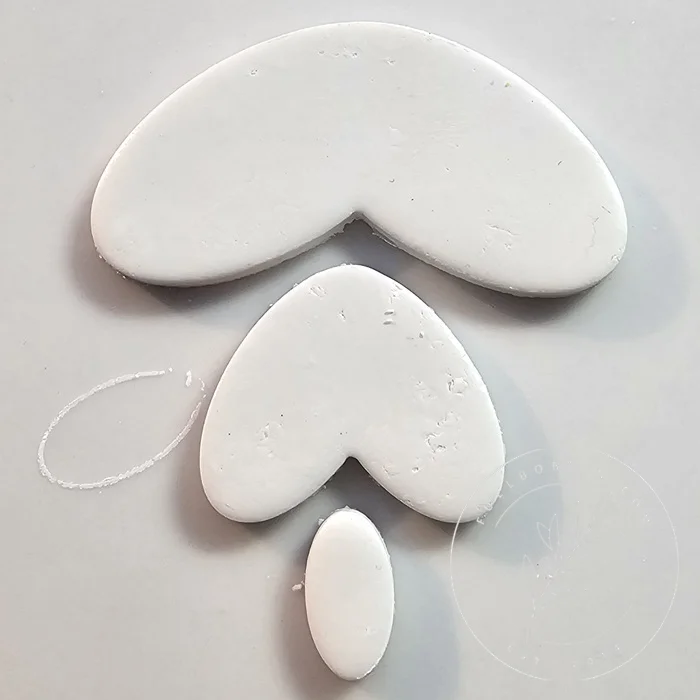
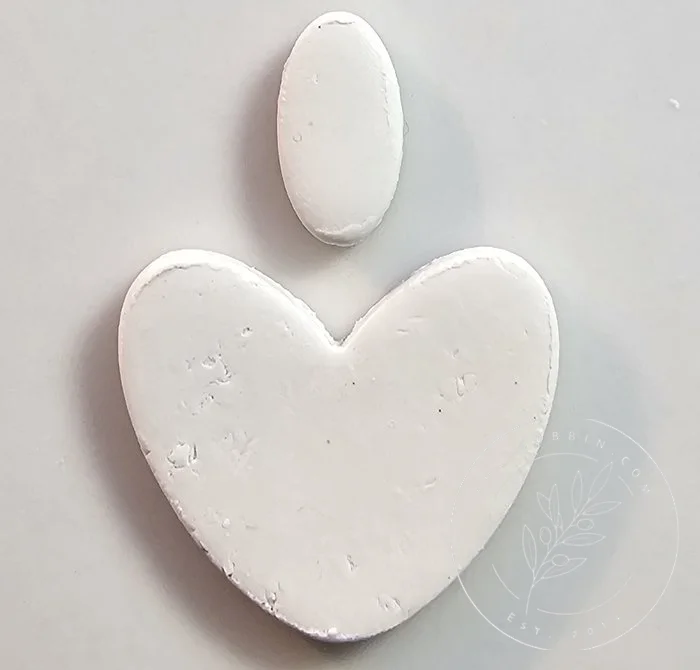
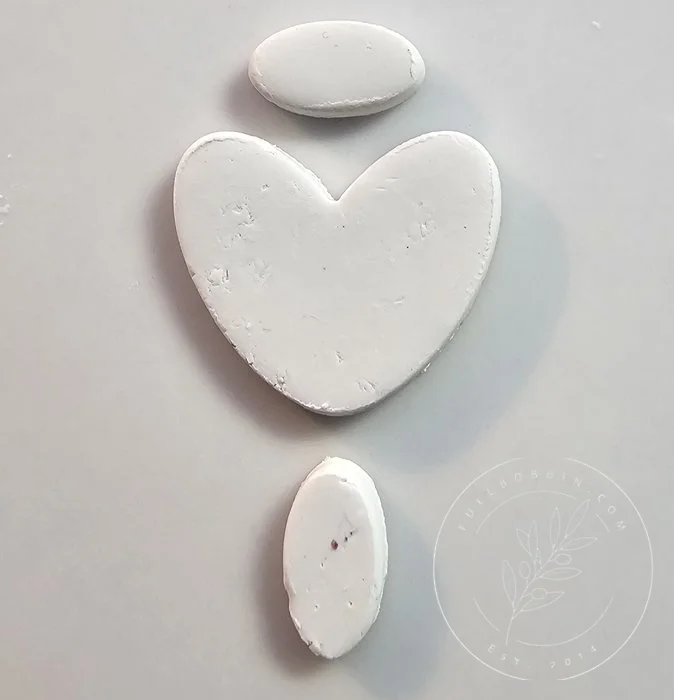
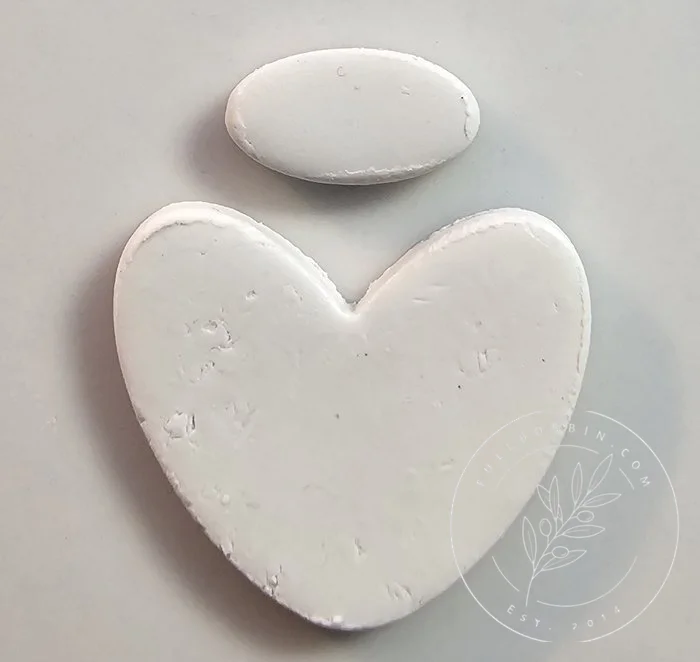
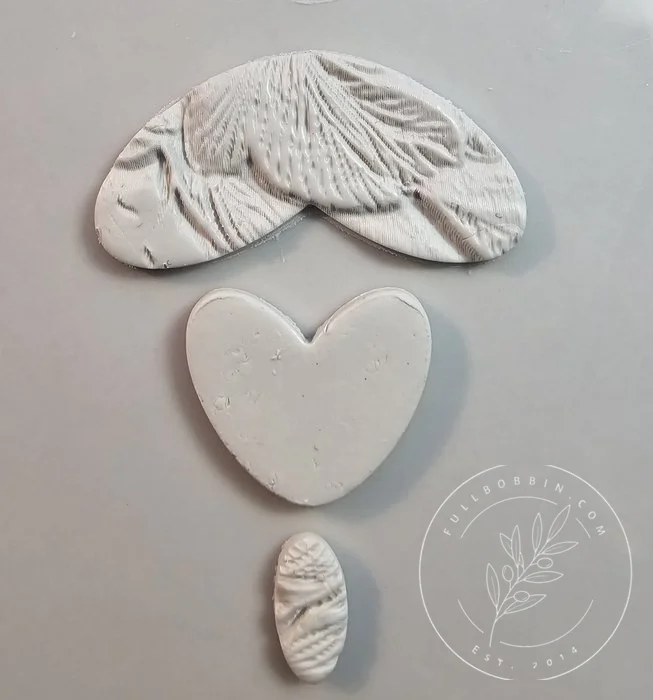
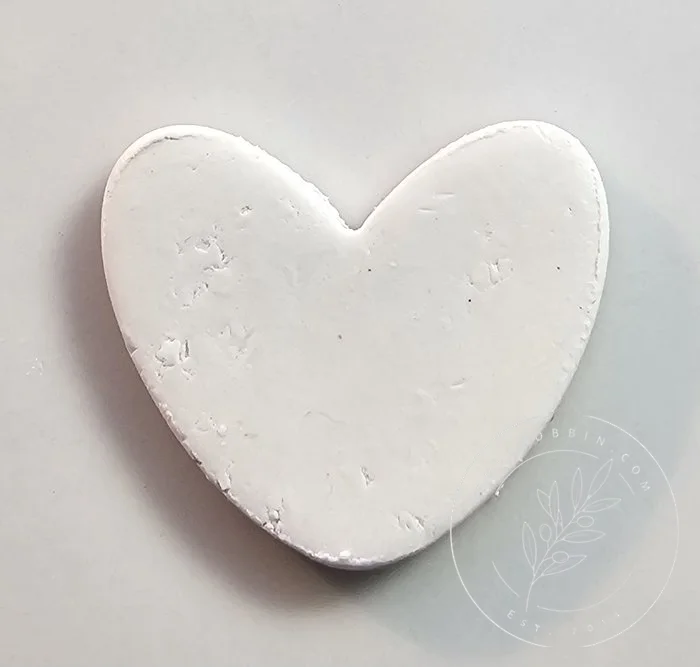
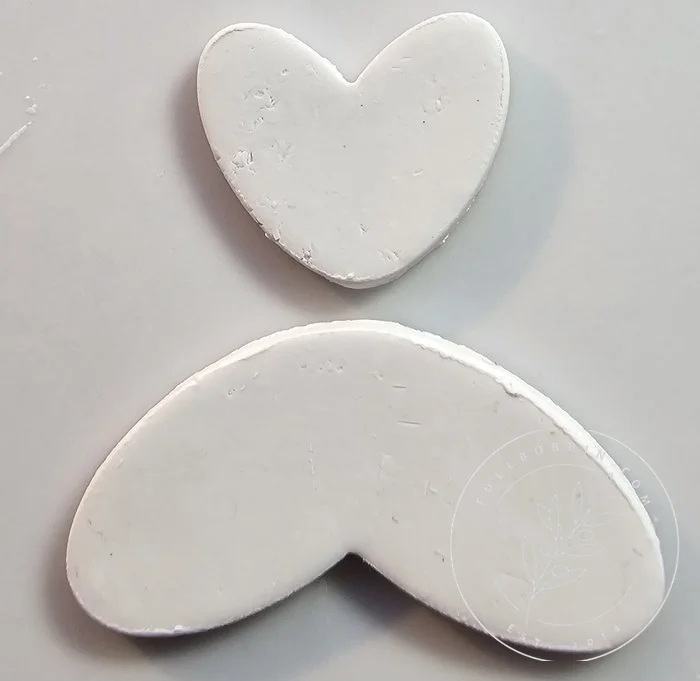
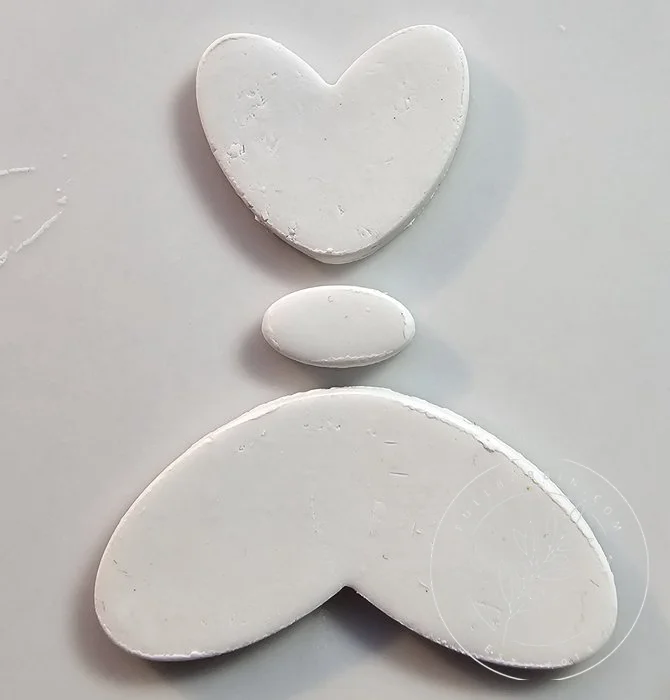
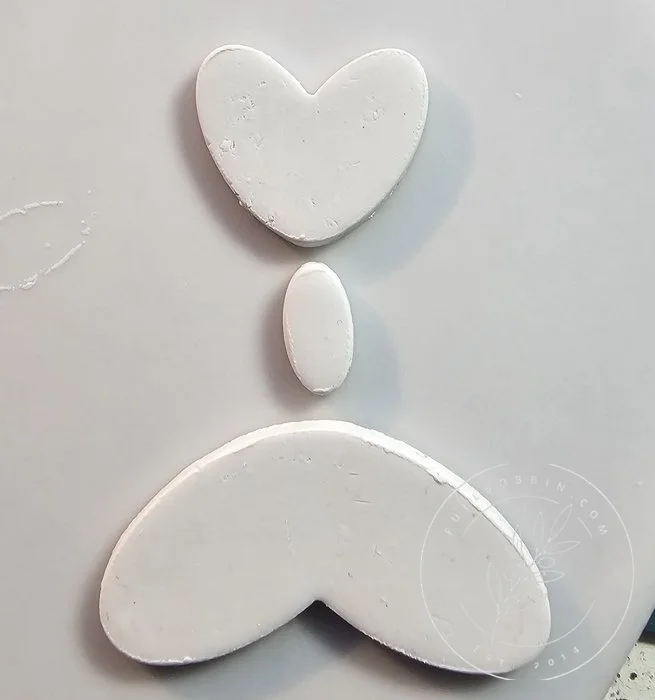
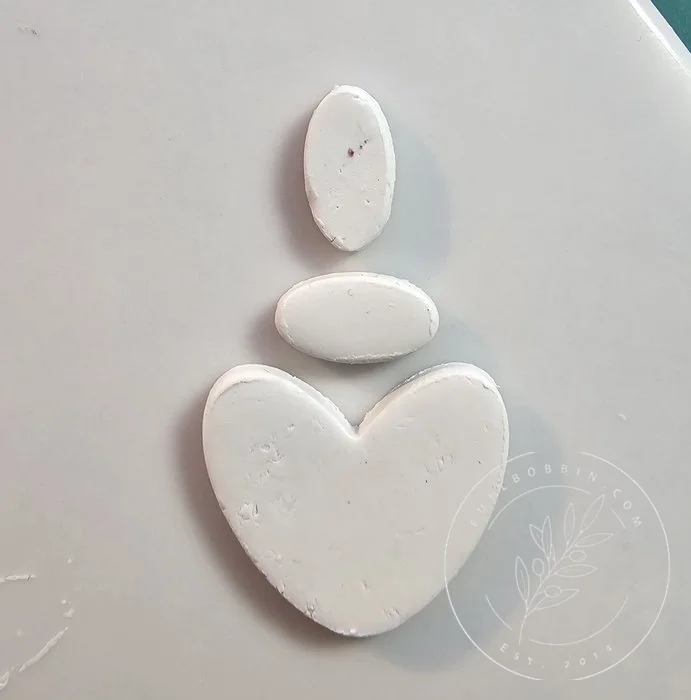
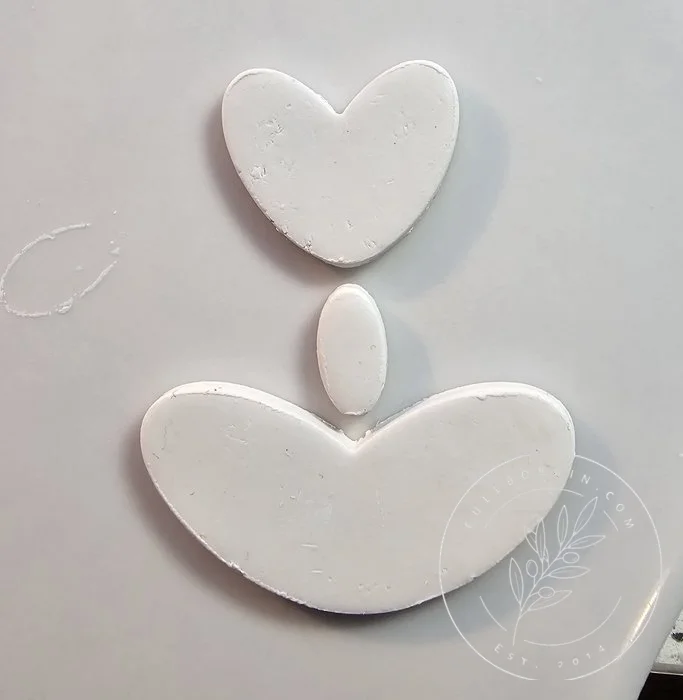
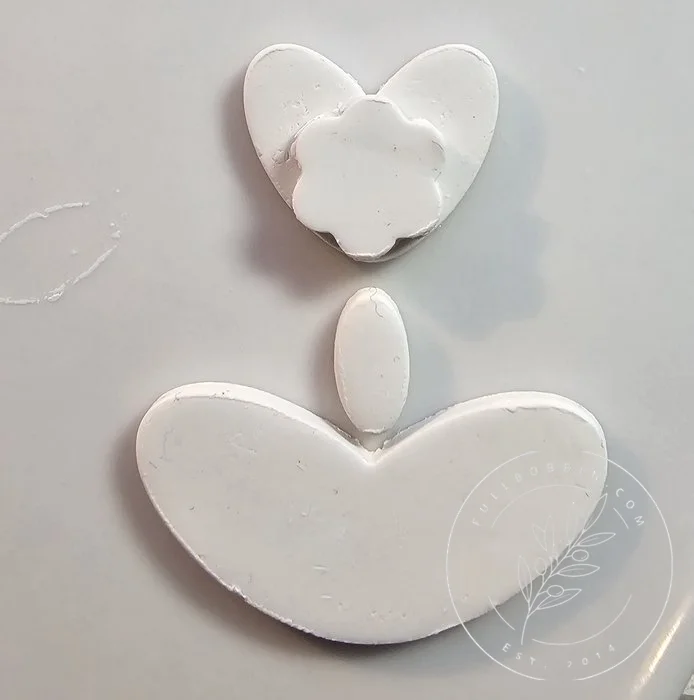
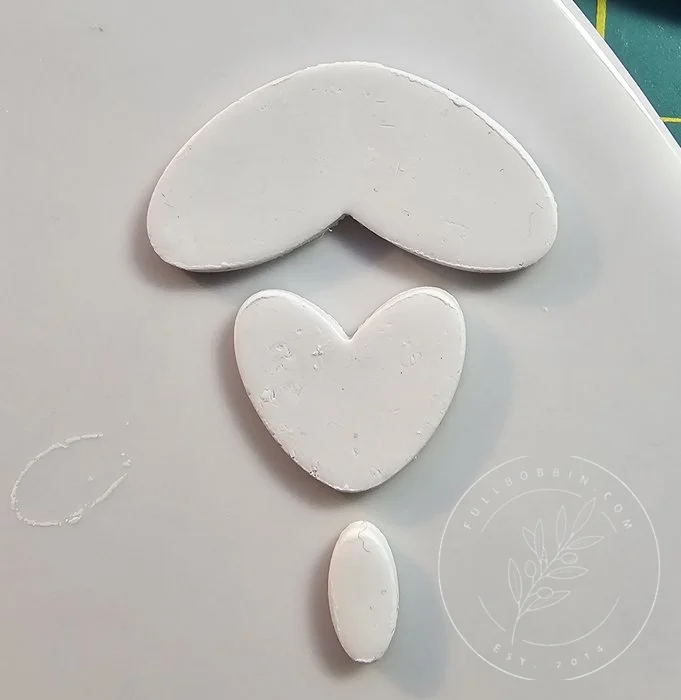
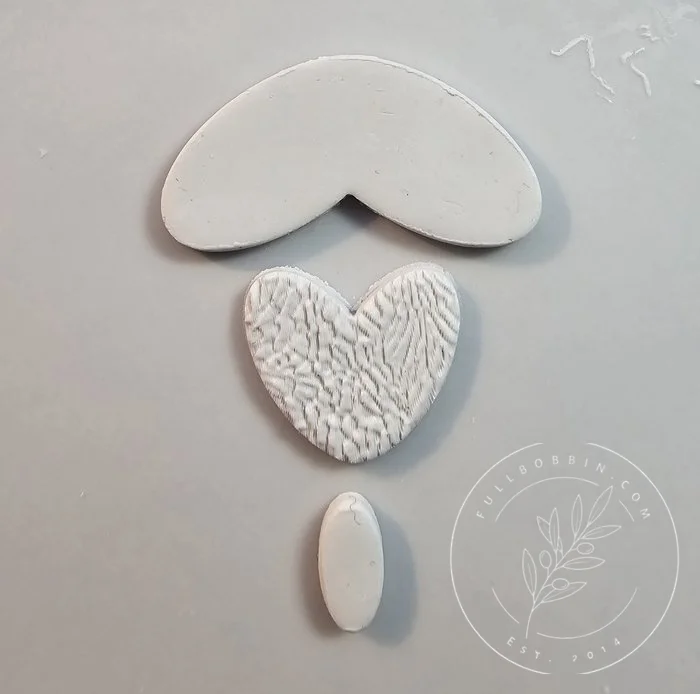
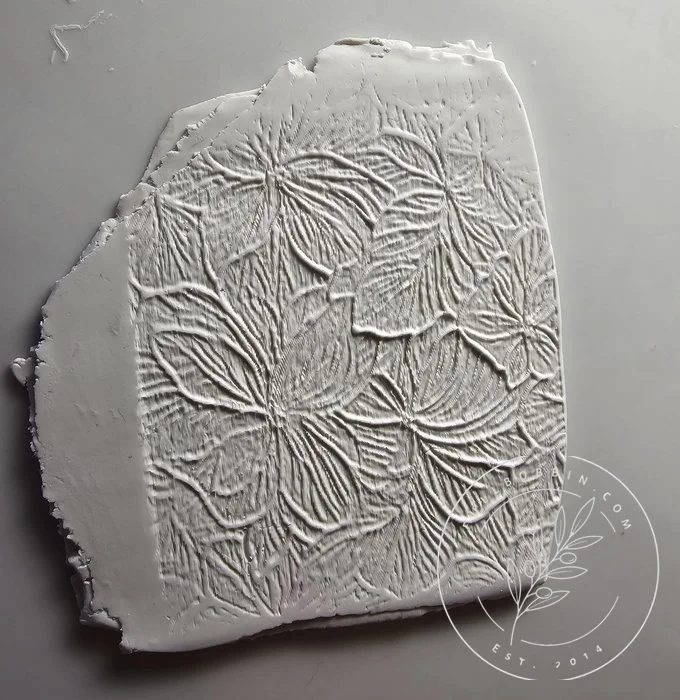
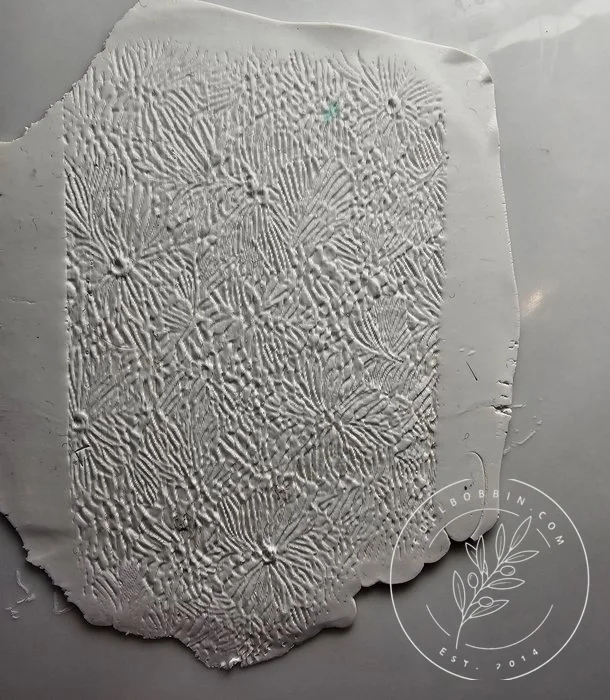
I snuck a different shape in that one above. LOL Did you notice? In playing with these combinations I used only white clay. Actually, the same pieces were used over and over in the photos, placed in different combinations. On the textured ones the slab was rolled out again, re-textured and re-cut. And these are just three of the many texture roller designs I’ll have in the shop. You’ll have hundreds to choose from. The upcoming community and shop launch is just days away now! I’m SO excited!
So many combos! Which are your favorites?
And because I know I can be long winded, I have a gift for you. To reward you for reading to the end! Sign up for my newsletter and you’ll get the 3MF file for these cutters. I want to kick up my heels and join a conga line, I’m so happy! Happy because I know you’ll love them as much as I do.
And if you’re wondering why it’s a 3MF and not an STL file, here’s a post I wrote about that. And you know what else? These cutters include Full Bobbin’s signature WedgeLock Technology ™ blades. So sharp. Like little ginsu knives. Okay, not so sharp they’ll make you bleed. But your clay will go running for the hills. Okay, okay, it won’t run anywhere. But it will be cut really smooth with these cutters. I set out to provide superior cutters based on my own use of available cutters. So many failed my studio tests. If you’re ready to print and play, sign up for the newsletter and the file will be on its way to you ASAP.
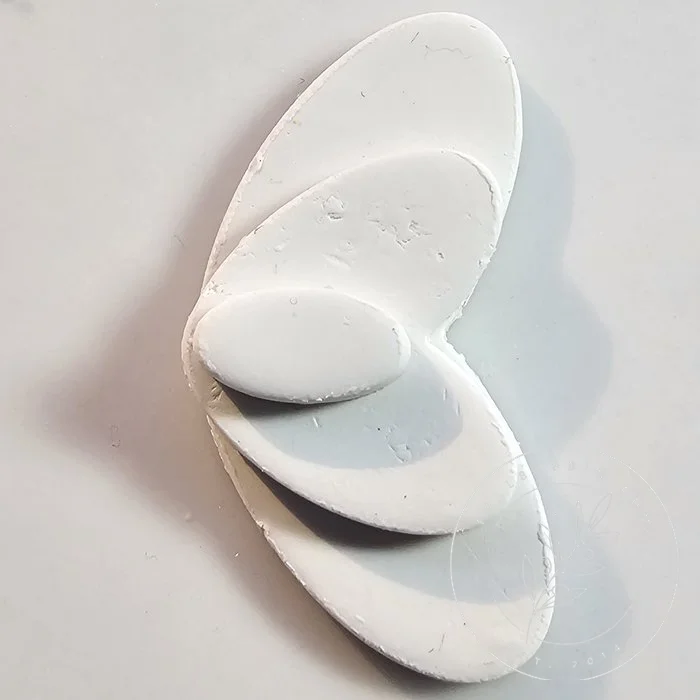
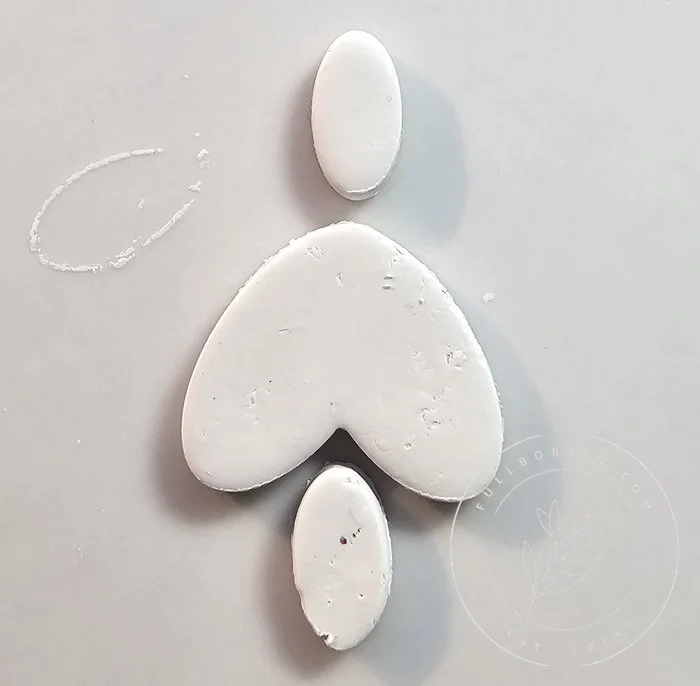
And please tag us if you love your combinations! I love to see what you make! #fullbobbinstudio @fullbobbinstudio
Until next time!
A full life. A grateful heart. Full Bobbin.
Leave a Reply